No, I haven't left you. Yes I'm very busy.
LOL!
To make these, you'll need to start by making a base for stuffed pastas. This is really very easy:
Base For Stuffed Pastas
This is a great pasta recipe, especially for making homemade ravioli, pierogis, or kreplach. This can be rolled by hand or through a machine, and is very adaptable. Make sure to follow the instructions exactly as written.
4 cups Better Batter All Purpose Flour
1 generous tsp salt
2 large eggs
2 tbsp butter or shortening
2-3 c warm water
Put flour, salt, eggs, and butter or shortening in the bowl of a food processor. Put the lid on and turn the machine to 'on.' Pour just enough water through the feeder spout, in a constant thin stream, until the dough begins to resemble a very thick paste and sticks to the side of the machine. Take out of machine and let sit about 20 minutes. (Alternately: put all ingredients into the bowl of a kitchenaid mixer and mix on medium speed for about 1 minute. Add the water, slowly in a thin stream until the pastelike texture is achieved, then beat for a minute or two more. Let sit)
Proceed with stuffed pasta directions.
 Potato And Cheddar Pierogies
Pierogis are stuffed pasta - reminiscient of ravioli, but filled with potato, cabbage, or meat. Originally of slovak and Polish origin, these delicious dumplings are a major part of central Pennsylvanian cuisine. Traditionally, pierogi are boiled and then fried in melted butter. Sheer heaven. These taste like clones of the popular commercial variety available in supermarkets. This is work intensive, so make a lot and freeze them.
5 pounds potatoes
1 onion, finely minced
1 pound extra sharp cheddar cheese, shredded
1 recipe Base for stuffed Pastas
Flour, for rolling, as well as a 3 inch round cookie cutter
water or egg white
Optional: butter for frying
Peel potatoes and cube. Boil a pot full of water and cook potatoes until soft, about 20-30 minutes. Remove from heat, drain, and mash.
Stir the onion and cheese into the potato mixture and set aside to cool.
Split the pasta in half, and roll out one half at a time. Place the dough on a floured surface (I like to use a silpat) and sprinkle generously with flour. Roll out until the dough is 1/8-1/4 inch thick.
Gently fold the dough in half to mark the center crease and unfold.
Using the cookie cutter, lightly mark circles on half the dough (do not cut through the dough!
Working quickly coat the marked side of the dough with water or egg white and place a large teaspoon (up to a tablespoon) of potato/cheese filling in the center of each circle.
Fold the dough over and press lightly to seal around the pockets of filling.
Using the cookie cutter, cut out the circles of dough. Gather and reroll the scraps, continuing to mark and fill the dough as instructed. Set aside to dry while you make the second half of the pasta.
Boil fresh water for the pasta (about a gallon for each two dozen).
Put the pierogis in the water and cook until they float, about 30 seconds.
Either serve, or fry in melted butter until lightly browned, then serve.

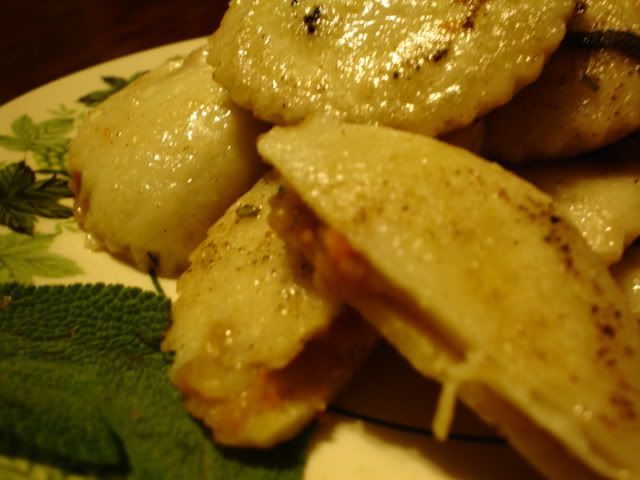
Pumpkin Pierogies
These pierogies are a sophisticated, 'grown-up' take on traditional Polish comfort food. The mellow winter squash is counterbalanced by warm undertones from spices and given a surprisingly delicious kick with the addition of fresh sage. A perfect dish for autumn.
2 pounds potatoes
2 pounds pumpkin, butternut squash, or other winter squash
1 large carrots, minced
1 onion, minced
1 clove garlic, minced
1 tsp ground coriander
1/2 tsp ground allspice
1/4 tsp ground nutmeg
1/8 tsp ground cardamom
2 eggs
1 recipe Base for stuffed Pastas
Flour, for rolling, as well as a 3 inch round cookie cutter
water or egg white
Bbutter for frying
1 bunch fresh sage
Peel potatoes and squash and cube. Boil in just enough water to cover until soft, about 20-30 minutes. Remove from heat, drain, and mash.
Stir the carrots, onion, garlic, spices, and eggs and set aside to cool.
Split the pasta in half, and roll out one half at a time. Place the dough on a floured surface (I like to use a silpat) and sprinkle generously with flour. Roll out until the dough is 1/8-1/4 inch thick.
Gently fold the dough in half to mark the center crease and unfold.
Using the cookie cutter, lightly mark circles on half the dough (do not cut through the dough!
Working quickly coat the marked side of the dough with water or egg white and place a large teaspoon (up to a tablespoon) of filling in the center of each circle.
Fold the dough over and press lightly to seal around the pockets of filling.
Using the cookie cutter, cut out the circles of dough. Gather and reroll the scraps, continuing to mark and fill the dough as instructed. Set aside to dry while you make the second half of the pasta.
Boil fresh water for the pasta (about a gallon for each two dozen).
Put the pierogis in the water and cook until they float, about 30 seconds.
Slice the sage leaves into thin julienne slices and quickly fry in the butter. Add the pierogies, fry in melted butter until lightly browned, then serve.


 3. Gently roll the dough balls on the floured surface of the silpat until they're smooth. Flatten each ball ito a disk, about 4 inches by 1 1/2 inches thick.
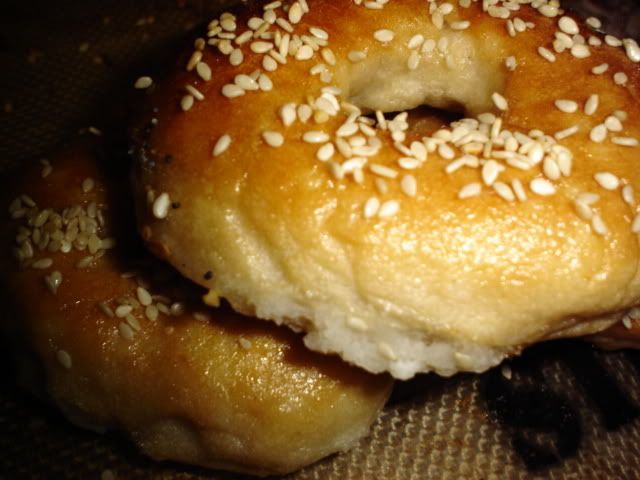
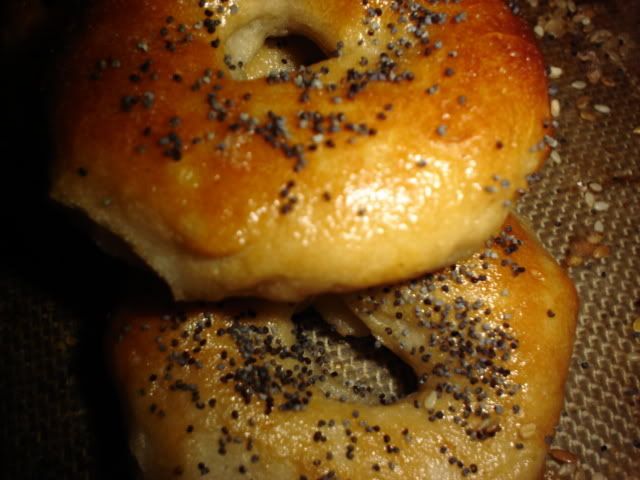
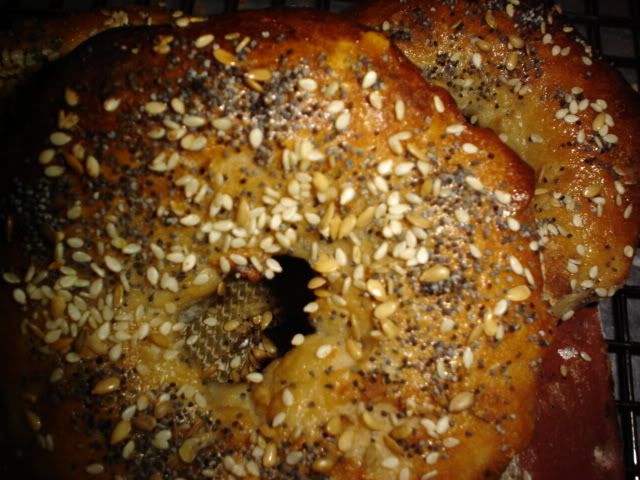
 5. Heat a pan full of water, at least 3 inches deep to boiling. Add about a tablespoon of sugar per 2 quarts of water. Drop no more than 3 bagels in at a time (they swell as they cook)!


 3. Separate the dough into balls slightly larger than baseballs but slightly smaller than tennis balls.
 5. Take the rope and quickly form it, on the parchment sheets, into a pretzel shape. Brush a little egg white or water under the surface of each 'foot' and onto the base of the pretzel to adhere the 'arms' to the 'body'.
 7. VERY CAREFULLY, using as wide a spatula as you can (use two-- one to life and one to slide under and support!) lift the pretzel from the parchment paper into the boiling soda bath. This will boil up into froth, so it's really important not to do more than two pretzels at a time at most! Cover with a lid and time for 1 minute.
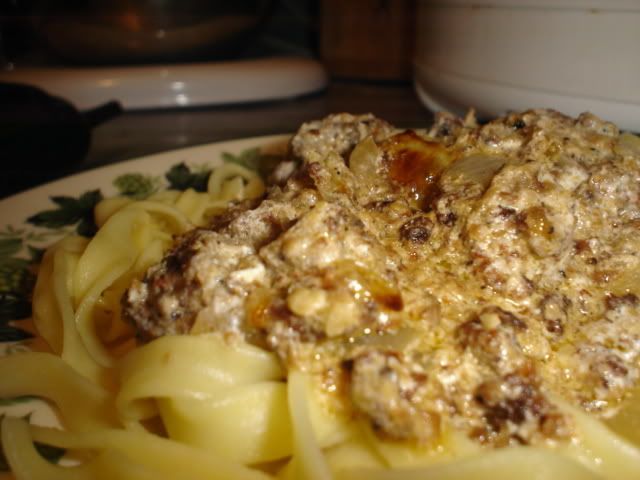


